How it works
Ten minutes, no tools to the mask.
Every Spine kit fits the same way: the saddle carries the weight from inside the crown, two padded arms steady the cheeks, and the spine attaches to the base of your choice.
01 — Fitting guides
Step 1: Fit the saddle
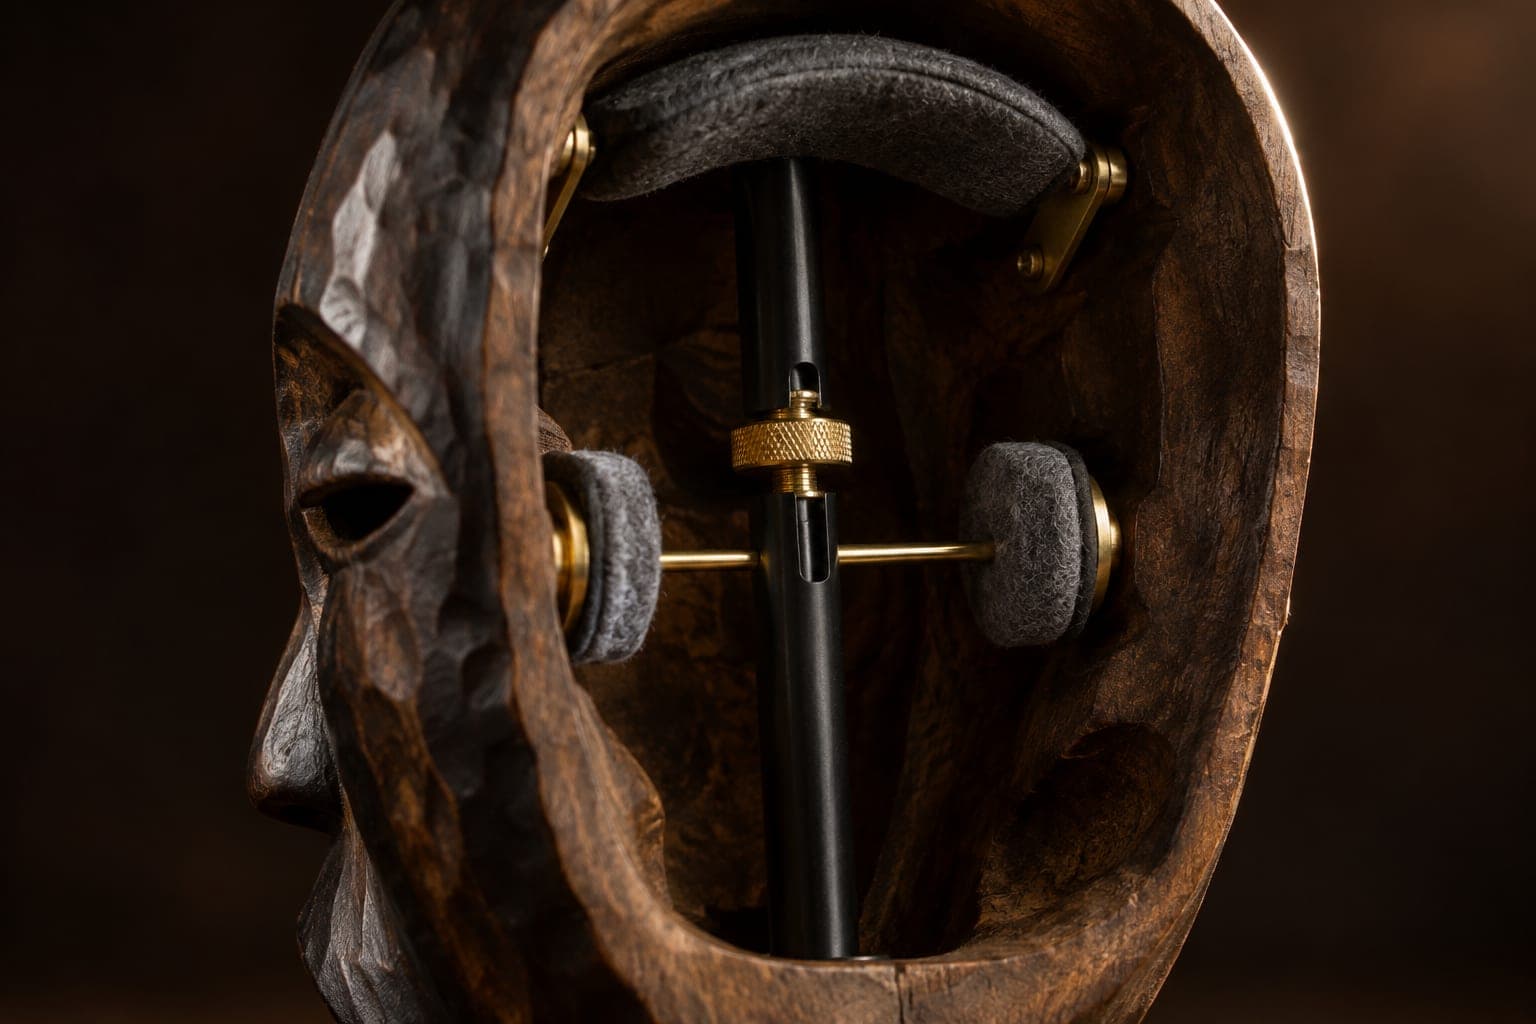
Lay the mask face-down on a towel. Slide the saddle up inside the crown, as close to the back rim as you can: deeper in, the dome slopes and tips the mask forward. Lock it, then clamp the safety collar just beneath.
Step 2: Hang the mask
Stand the spine upright and rest the mask on the saddle. It should sit level without being held.
Step 3: Set the locked pad
Move the cross-arm to cheek height. Slide the locked pad out until it just touches one inner cheek, then tighten its screw.
Step 4: Set the spring
Turn the thumbwheel until the spring pad just touches the other cheek, then add turns from the chart below. The weight sits on the saddle; the spring only steadies the mask, so a light touch is right.
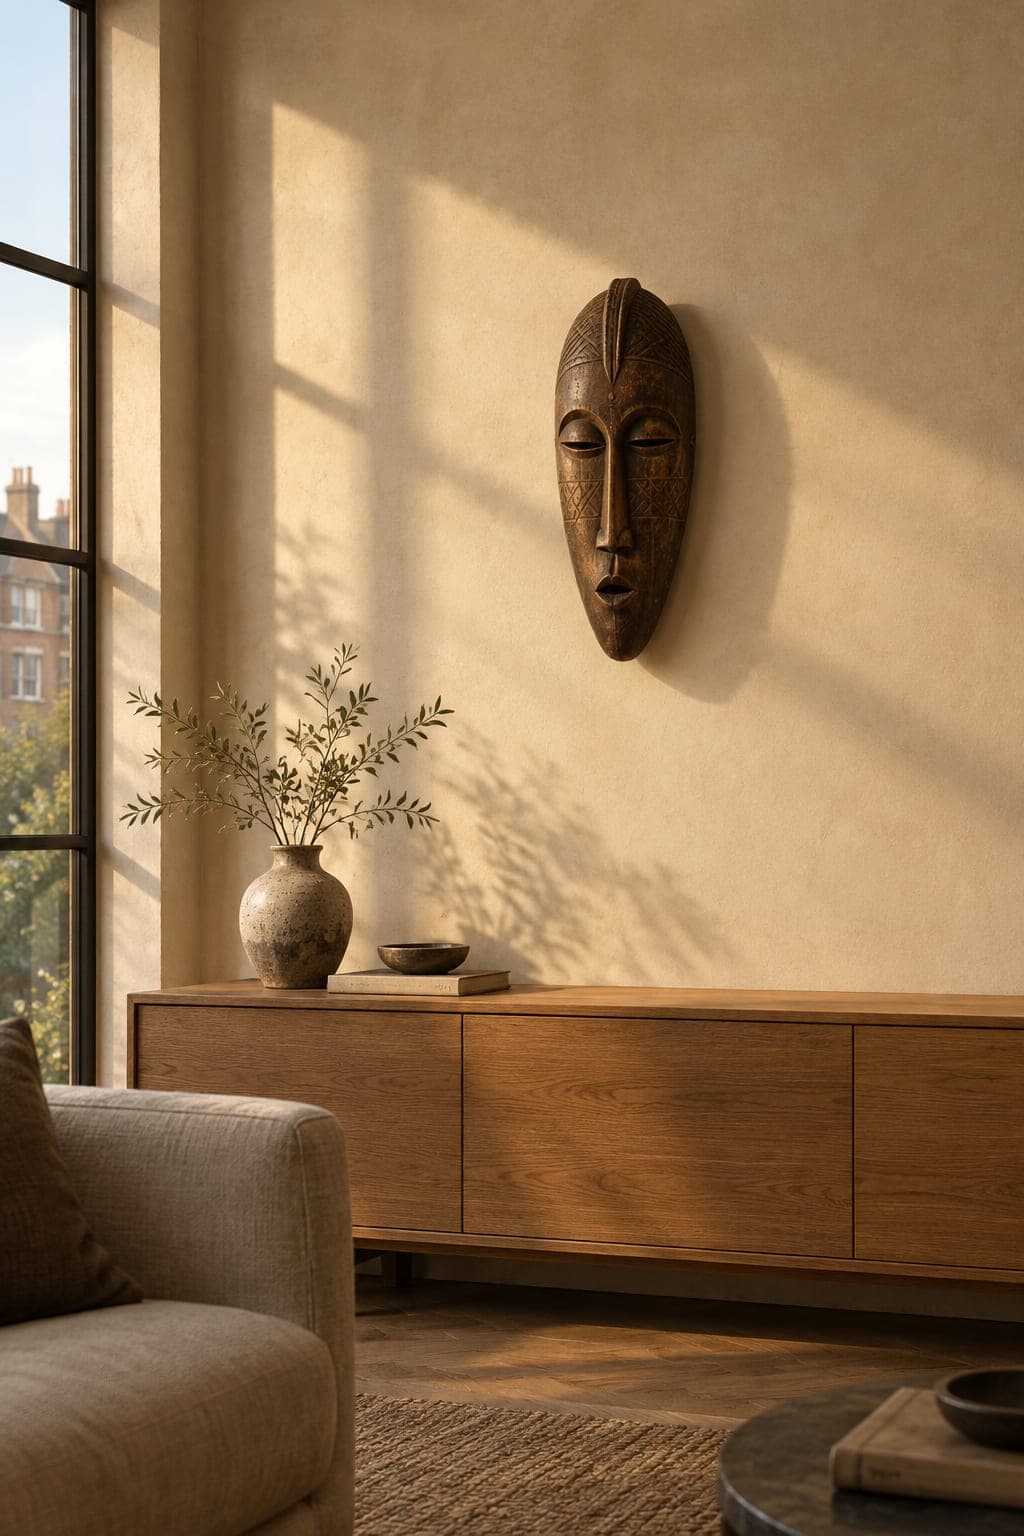
Step 5: Fix to the wall
Fix the wall bracket with the plugs supplied (or fixings suited to your wall). Slide the spine into the bracket: the cross-arm node sits directly above it and doubles as a safety stop.
Step 1: Fit the saddle
Lay the mask face-down on a towel. Slide the saddle up inside the crown, as close to the back rim as you can: deeper in, the dome slopes and tips the mask forward. Lock it, then clamp the safety collar just beneath.
Step 2: Add the retaining tips
Clip the retaining lips to the top and sides. They hook gently over the rim so the mask can’t lift or slide when suspended.
Step 3: Set the locked pad
Move the cross-arm to cheek height. Slide the locked pad out until it just touches one inner cheek, then tighten its screw.
Step 4: Set the spring
Turn the thumbwheel until the spring pad just touches the other cheek, then add turns from the chart below. The weight sits on the saddle; the spring only steadies the mask, so a light touch is right.
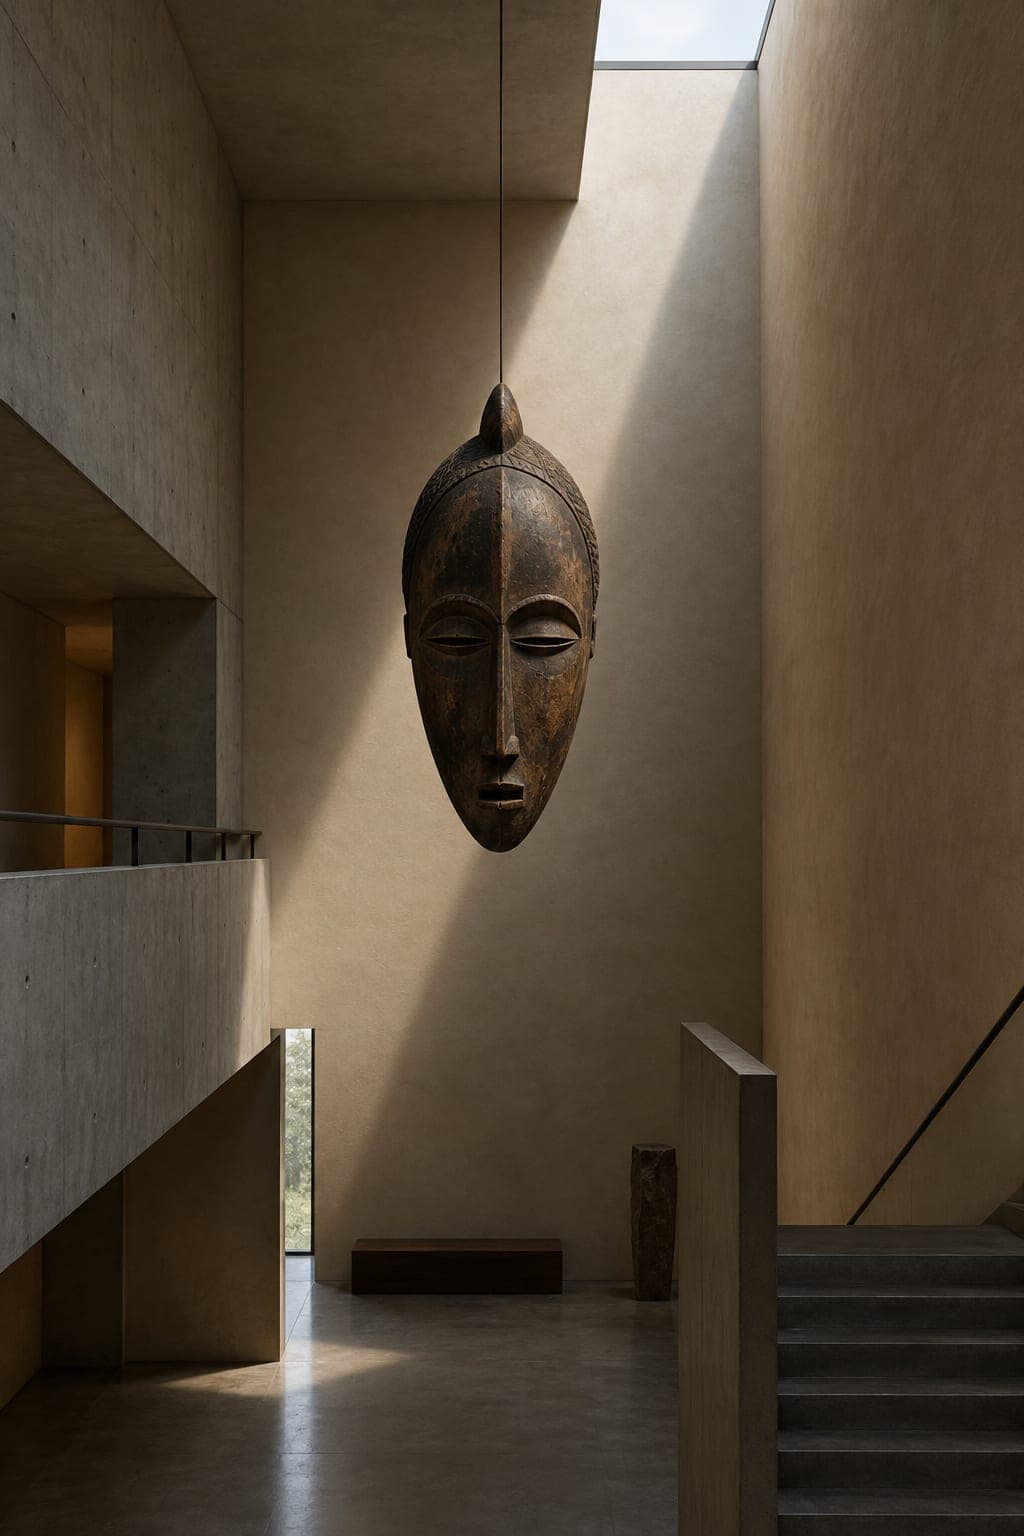
Step 5: Hang from the rose
Fix the ceiling rose into a joist, or use a cavity fixing rated well above the mask’s weight. Thread the spine up into the rose and lock the collar.
Step 1: Assemble the base
Push the post into the weighted base and fit the cross-bolt. Stand it on a flat, level surface.
Step 2: Fit the saddle
Lay the mask face-down on a towel. Slide the saddle up inside the crown, as close to the back rim as you can: deeper in, the dome slopes and tips the mask forward. Lock it, then clamp the safety collar just beneath.
Step 3: Lower the mask onto the post
With the saddle fitted, lower the mask so the post sits behind the nose. For helmet masks, the post rises inside the helmet.
Step 4: Set the locked pad
Move the cross-arm to cheek height. Slide the locked pad out until it just touches one inner cheek, then tighten its screw.
Step 5: Set the spring
Turn the thumbwheel until the spring pad just touches the other cheek, then add turns from the chart below. The weight sits on the saddle; the spring only steadies the mask, so a light touch is right.
02 — Grip force
Spring settings.
Start from “just touching” and add turns. One turn moves the pad about 1 mm and adds roughly 1 N of grip. A built-in stop limits it to about 7 N, so a fragile mask can’t be over-tightened.
| Mask weight | Turns past “just touching” |
|---|---|
| Under 1 kg | 1–2 turns |
| 1–2 kg | 2–4 turns |
| 2–3 kg | 4–6 turns |
03 — Safety
Before you start.
- Handle masks with clean, dry hands or cotton gloves, and support them from below, never by projecting parts.
- Check the object for cracks, flaking pigment or old repairs. If in doubt, ask a conservator before mounting.
- Use fixings suited to your wall or ceiling, and check for pipes and cables before drilling.
- Keep mounted masks out of direct sunlight and away from radiators to protect wood and pigments.
- The inside grip needs about 10 cm of inner width at cheek height. For narrower masks, use spatula tips.
- Kits are rated for masks up to 60 cm and 3 kg. For anything larger, please contact us.
Will it fit my mask?
Almost certainly, if it’s up to 60 cm tall and 3 kg. The inside grip needs a hollow back about 10 cm wide at cheek height; for shallower or solid-backed masks, spatula tips cradle the chin and crown instead. The Mount Finder will tell you exactly what to order.
Can it damage the mask?
The Spine never drills, glues or alters an object. Contact is only through felt-lined pads, and the thumbwheel has a built-in stop at about 7 N, so the grip can’t be over-tightened. As with any historic object, check for cracks or loose pigment first, and ask a conservator if you’re unsure.
Can I move the mask to a different wall, or from wall to desk?
Yes. The spine stays fitted to the mask, so you only swap the base. Each base is also sold separately.
What if the back of my mask is solid?
Use the Spatula Tip Pack. Two slim, rounded tips support the chin and crown edge; only a 1.6 mm edge shows from the front.
Do I need tools?
Only for the wall or ceiling fixing: a drill and screwdriver. Everything that touches the mask adjusts by hand.